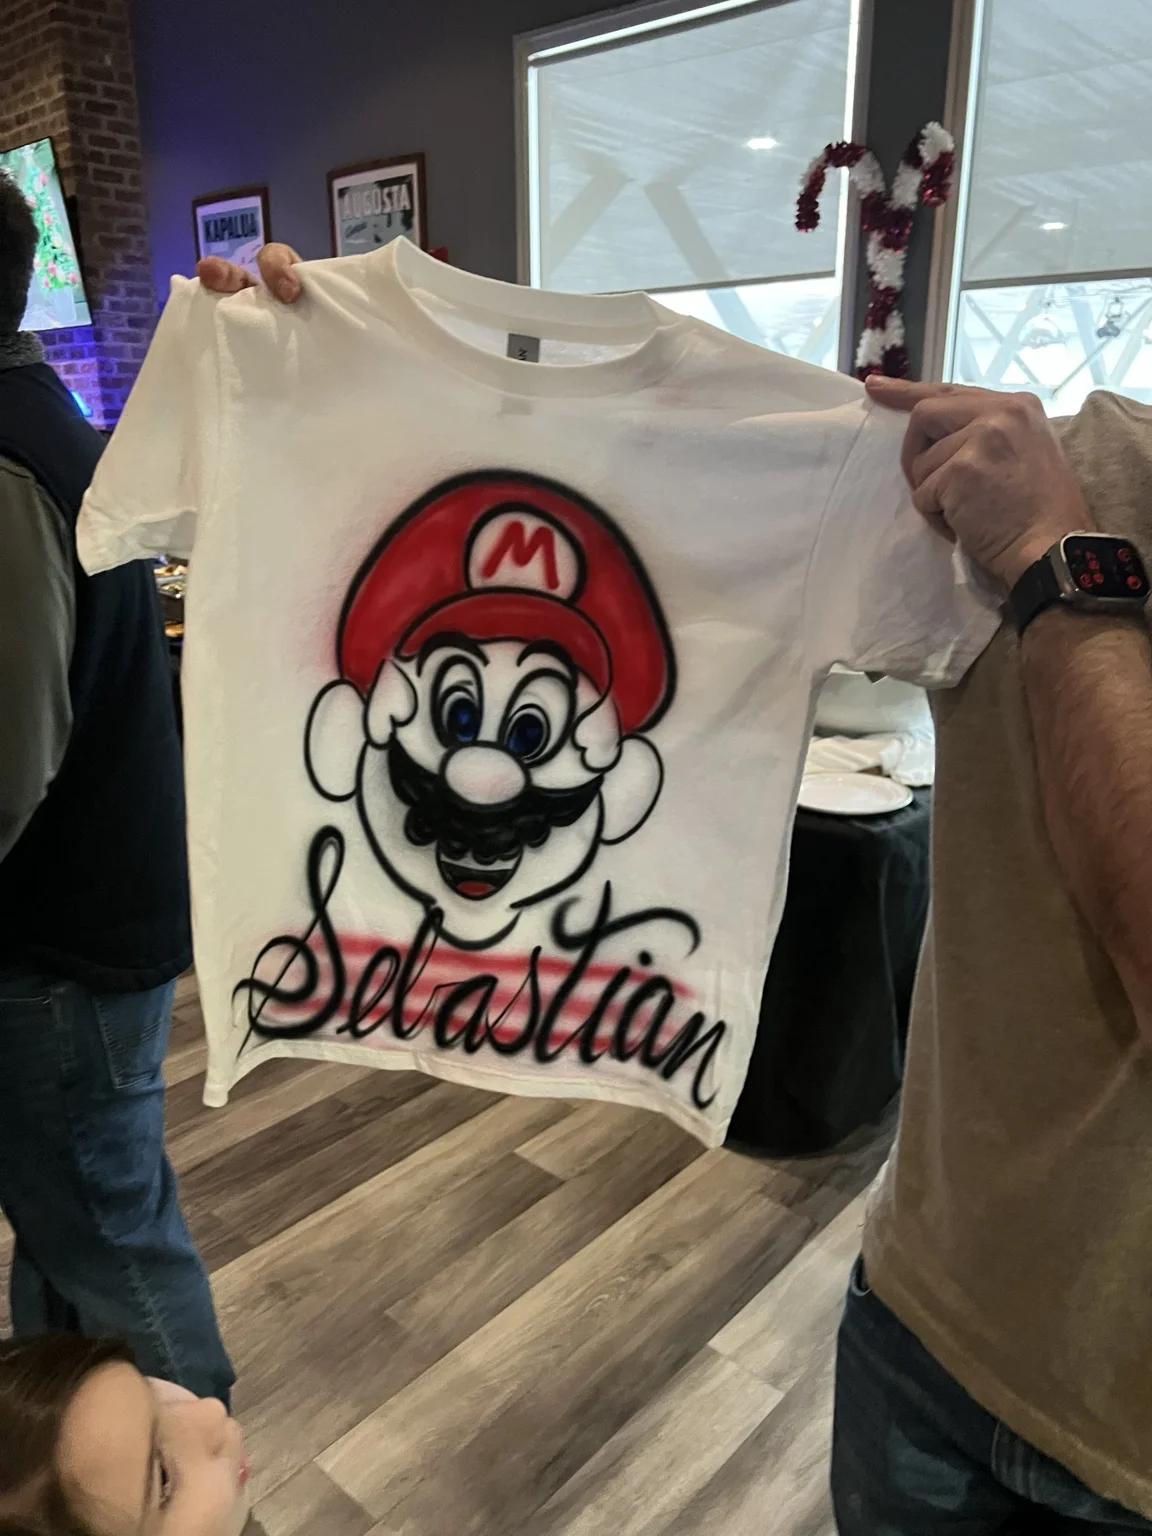
A company, university or campaign can provide T-shirts with a logo or message already printed on the back, then let guests personalize the front during the event. The two processes should be planned as one finished product.
Before the event, test the exact shirt and print. Confirm that the front design fits the available area, remains visible on the shirt color and can be painted without damaging or marking the existing back graphic.
Start with a physical sample, not only artwork
A digital mockup cannot show every production detail. Fabric weight, stretch, seams, coatings, print texture and shirt color can change how the item handles and how the airbrushed colors appear.
Provide at least one finished sample from the actual production run when possible. The artist can evaluate the front area, support board, color contrast and handling process. If multiple shirt colors or styles will be used, test each combination that could behave differently.
| Test item | Question to answer | Why it matters |
|---|---|---|
| Exact shirt style | Does the fabric stay flat and supported? | Stretch and seams affect placement |
| Existing back print | Can the shirt be handled without marking it? | Fresh or raised prints may need special care |
| Front design area | Is there enough clear space for the approved design? | Pockets and seams reduce usable area |
| Shirt color | Do the selected airbrush colors remain visible? | Contrast affects legibility and brand consistency |
| Finished handling | How will the shirt dry, move and reach pickup? | Stacking too soon can affect fresh work |
Choose the front placement before guests arrive
Common options include a centered chest design, left-chest name, front name with a small approved graphic or a lower-front placement. The best location depends on the back artwork, shirt construction and event goal.
Mark the approved area on the design menu. If guests can choose placement freely, decisions and artist adjustments may slow production. A consistent location usually improves throughput and makes the finished group look more cohesive.
Protect the existing back design during painting
The artist team should insert an appropriate support inside the shirt so the front stays flat and paint does not transfer through to another layer. The board or support must fit without stretching the garment or rubbing the existing back print.
Do not assume every screen print, transfer or specialty decoration responds the same way to pressure, folding or heat. Ask the original printer for care and handling instructions, and share those instructions with the live artist before the event.
Test the actual preprinted shirt, photograph the approved sample and record the front placement, lettering style, colors and personalization limits. Use that sample as the event-day reference.
How shirt color affects the live design
Light shirts often allow a broad range of colors to read clearly. Darker shirts can also work, but the design and paint approach may need stronger contrast or a different palette. Brand colors should be evaluated on the actual garment rather than assumed from a screen.
If the order contains several shirt colors, decide whether every design is available on every color. A simplified color menu can prevent combinations that look weak and reduce decision time at the ordering station.
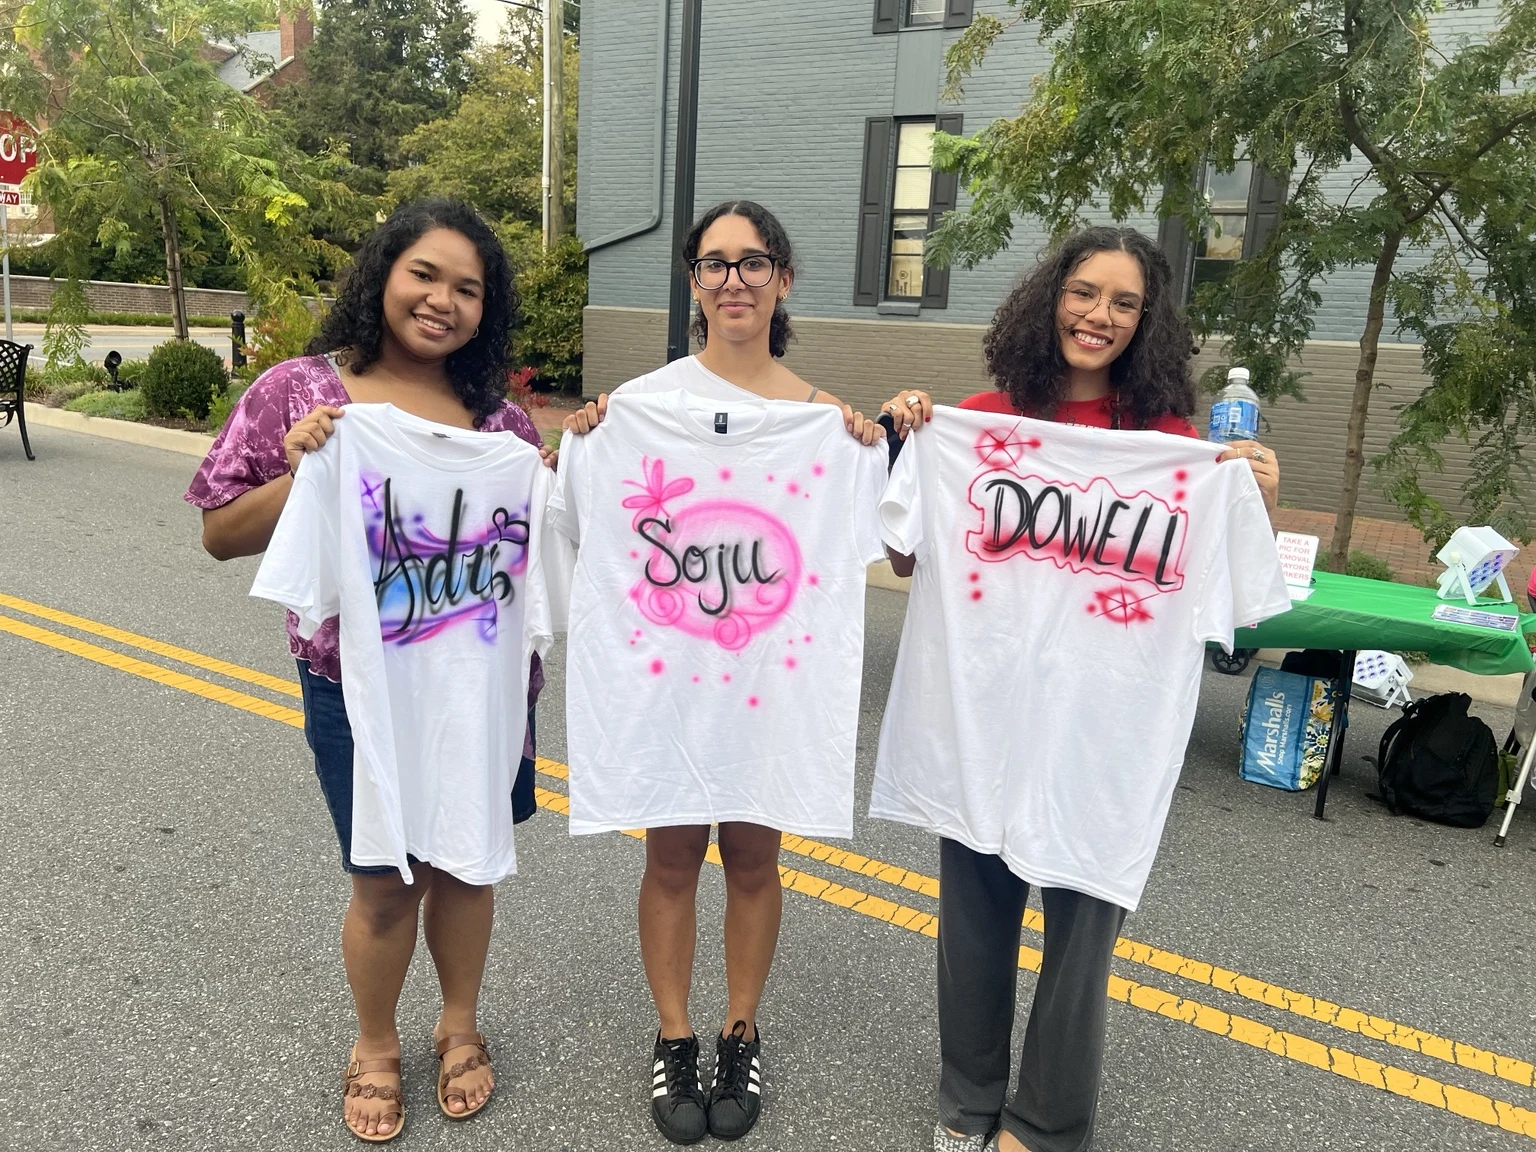
Plan sizes as separate inventory
Do not treat 150 shirts as one quantity. Count every size and color separately. Use registration data, prior event history or audience information when available, and decide what happens when a requested size is no longer available.
Keep any staff, VIP or late-session inventory labeled and separate. If those shirts may be released to the main event, identify who has authority to do it and when. The mixed-product inventory guide explains the same principle across shirts, hats and bags.
How many artists are needed for 150 shirts?
Approximately 25 standard items per artist per productive hour is a starting planning estimate for streamlined designs. At that rate, 150 shirts represent about six artist-hours.
| Illustrative team | Productive time | Basic estimate | Planning reality |
|---|---|---|---|
| 1 artist | 6 hours | 1 × 6 × 25 = 150 | Too long for many student or corporate pop-ups |
| 2 artists | 3 hours | 2 × 3 × 25 = 150 | Starting point if three hours stay productive |
| 3 artists | 2 hours | 3 × 2 × 25 = 150 | Adds room for a shorter peak-demand window |
These calculations are illustrative, not reported totals from the photographed events and not guarantees. Existing print handling, shirt insertion, detailed artwork, guest choices, breaks and the final order cutoff can reduce productive time. Confirm the tested process before committing to a quantity.
Use the artist staffing guide and step-by-step event guide to build the complete schedule.
Separate ordering, painting and pickup
Guests should choose a size and design before reaching the artist table. Record the order number, guest identifier, size, design, colors and correct name spelling. Route the shirt to an available artist, then place the finished item in an organized drying and pickup area.
A separate ordering point keeps artists painting instead of searching through boxes or correcting order details. Read how guests order custom items, how to keep lines moving and drying and handling guidance.
Do not stack fresh shirts immediately
Finished shirts need enough space and handling time before folding, bagging or stacking. The exact process depends on the paint, shirt and approved finishing method. Create a pickup area that keeps fresh designs separated and protects the preprinted back.
Give guests written care instructions that match the tested materials. If the back printer and live artist provide different instructions, resolve the conflict before production rather than asking the guest to guess.
What has worked at real 3JS shirt events?
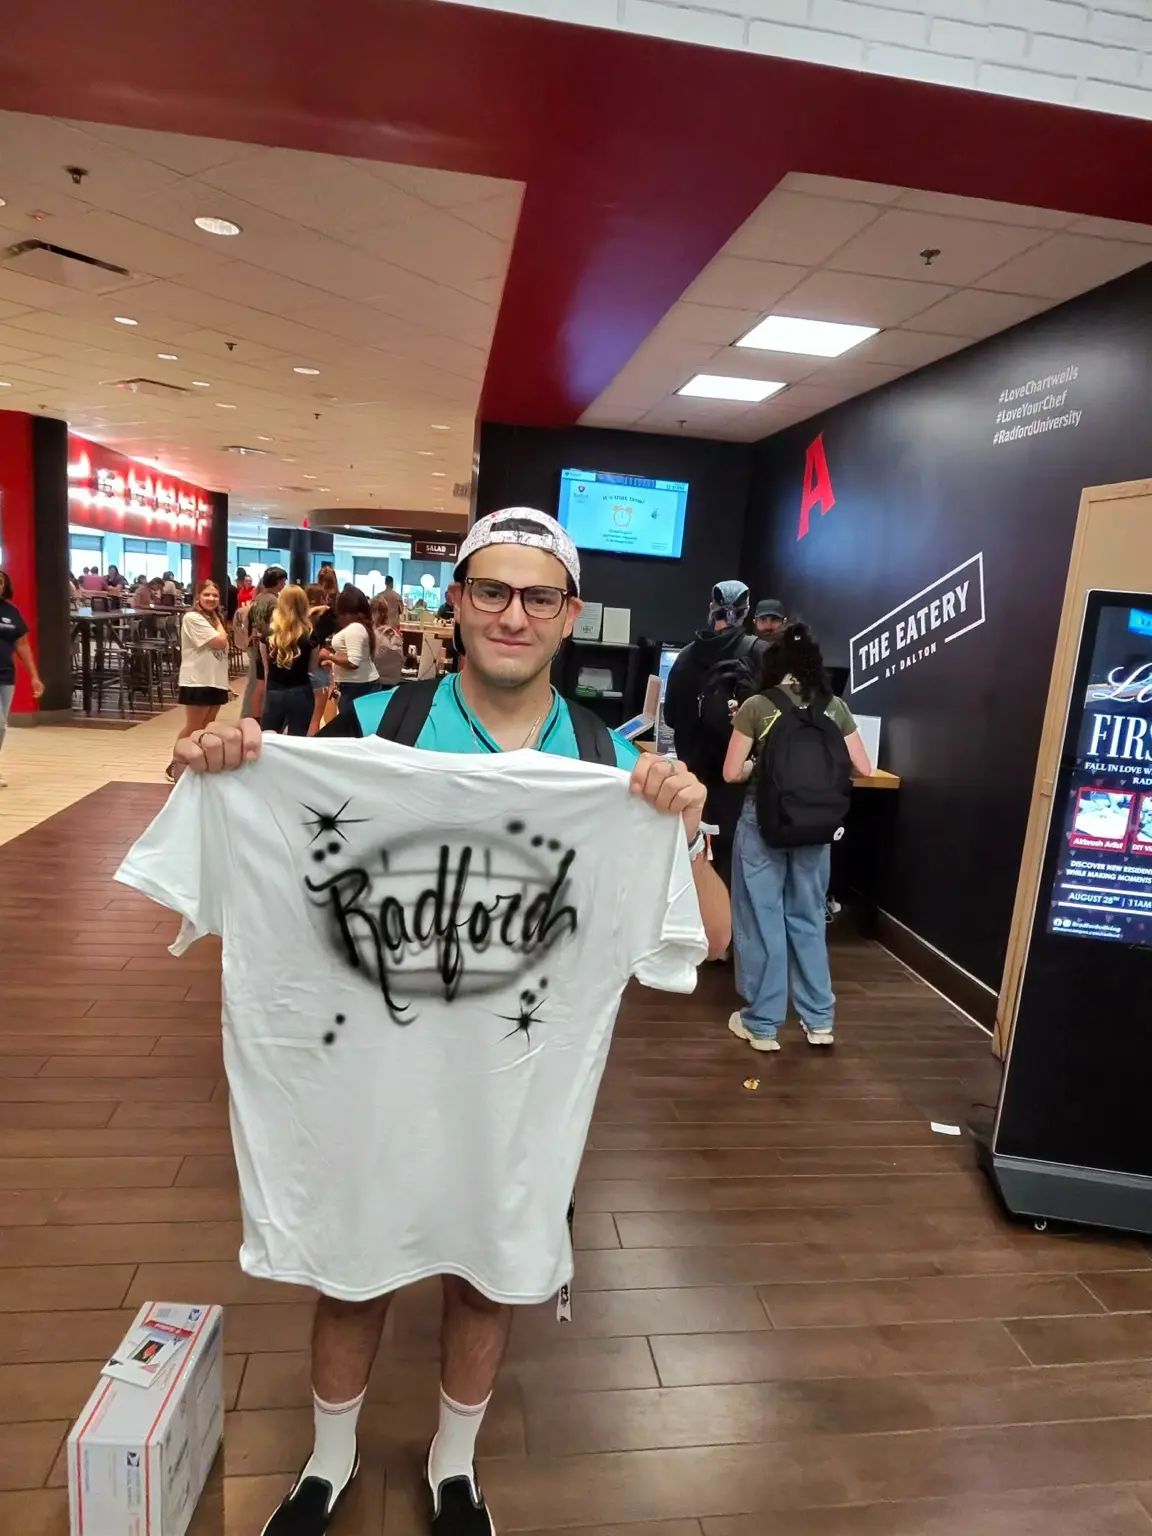
3JS has personalized shirts for corporate programs such as the Wake Forest, North Carolina activation and campus events including Roanoke College’s Fall Festival and Radford University.
These examples show experience with live shirt personalization for different audiences and settings. They do not imply that every shirt blank, existing print or design menu is interchangeable. Each preprinted program should be tested on its own materials.
Checklist for client-supplied preprinted shirts
- Exact shirt brand, style, fabric, color and production link
- Physical sample with the final back print already applied
- Front placement and usable design dimensions
- Approved names, lettering, graphics and color choices
- Quantity counted separately by size and color
- Inventory buffer and substitution rules
- Printer’s care, folding and handling instructions
- Artist count and truly productive painting window
- Ordering, size distribution, drying and pickup layout
- Responsibility for unusable shirts, extras and leftovers
Explore corporate activations, college and university events, customizable event products and real 3JS event galleries. Then send the shirt details through the event quote form.
Frequently asked questions
Can the front of a shirt be airbrushed when the back is already printed?
Yes, when the exact shirt, existing print and proposed front design are tested and approved. The artist should confirm placement, contrast, handling and whether the shirt can be safely supported during painting.
Should the shirts be washed before the event?
Follow the blank-shirt and print provider’s instructions. Do not wash or treat the event inventory unless the production plan specifically requires it, because laundering can affect sizing, finish, packaging and the existing print.
How many preprinted shirts can be personalized live?
Approximately 25 standard items per artist per productive hour is a starting estimate for streamlined designs. The exact rate depends on placement, shirt handling, guest choices, design complexity and the tested process.
What shirt color works best for live airbrushing?
The best color is one that gives the approved artwork enough contrast. Light shirts often make many colors easy to see, but darker shirts can also work with the right paint and design plan. Test the exact shirt color before production.
Who is responsible for extra shirts or missing sizes?
The agreement should identify who supplies the shirts, the approved size breakdown, the inventory buffer and what guests may choose when a size runs out. Do not assume the artist team can replace client-supplied inventory on event day.